FFF Friday: Dyeing Nylon Filament
Welcome to the first installment of FFF Friday!
It’s widely known among 3D printing enthusiasts that nylon 3D printer filament can be dyed. This stands to reason: many fabrics are nylon-based, so the same dyes that work on nylon fabric will work on nylon filament. You can dye nylon objects after printing them, or for a striking tie-dyed effect, you can dye the filament itself. Today I’ll be chronicling my adventures in the latter.
While any nylon-compatible fabric dye will serve you well most of the time, I don’t necessarily know how safe the regular acid dyes are for my purposes (which, as I mentioned in a previous post, are not your typical print job, wink wink nudge nudge). Would they make me immediately keel over from acute internal acid dye poisoning? Probably not. But I’d rather go for total biocompatibility if I can help it. I wanted something that’s known to be nontoxic. Something so safe, I can eat it.
Kool-Aid.
This is the part where the Kool-Aid man dramatically busts through my front window on a motorcycle, spilling punch from the top of his head and guaranteeing that I can kiss my security deposit goodbye.
Dyeing yarn with Kool-Aid is a common practice in the knitting/crocheting world; amid the many tutorials, there’s even a pallette with formulas for 135 Kool-Aid color combinations. I didn’t find much information on using Kool-Aid to dye 3D printer filament, but by the Transitive Property it seemed feasible: if we can dye nylon filament like yarn, and we can dye yarn with Kool-Aid, we can dye nylon filament with Kool-Aid. So I basically combined the two techniques, which are fairly similar anyway.
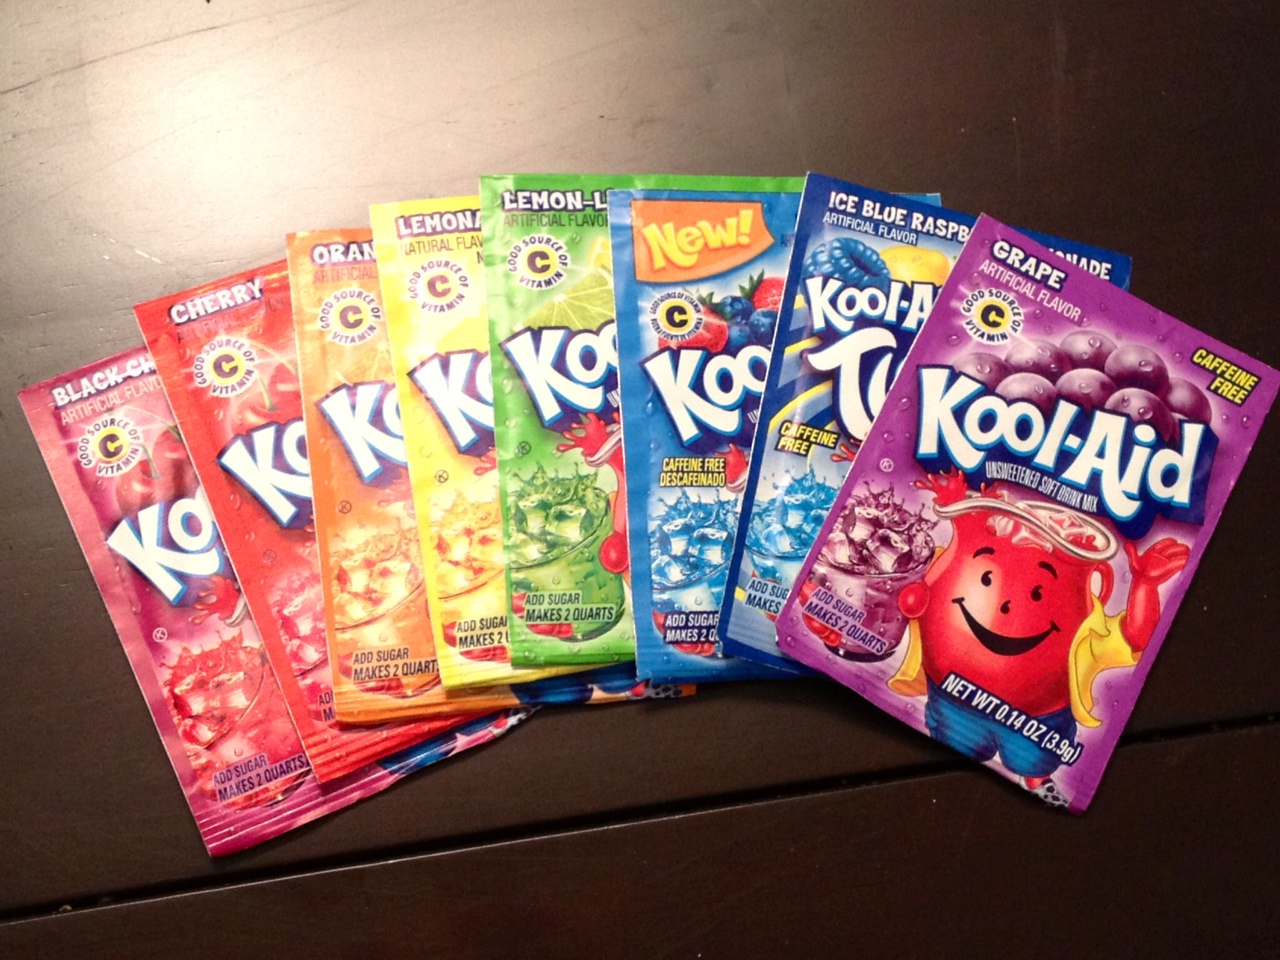
No special equipment is required, just some packets of unsweetened Kool-Aid. This may go without saying, but in the name of all that is holy, don’t use the pre-sweetened variety unless a sticky mess is what you’re aiming for. Unlike some other dyes, there’s no need to mix in additional vinegar -- unsweetened Kool-Aid is plenty acidic on its own (as anyone who’s ever drunk the stuff on a dare in middle school knows... not that I’m speaking from experience or anything).
Taking
the nylon filament off of the spool and tying it into coils will help
expose more surface area and allow you to swish it around in the dye more. Since I
wanted to test small batches, each of the coils is roughly one ounce of
Taulman 618
1.75mm filament. (One step that I admittedly forgot was pre-soaking
the filament in hot water for a few minutes. In retrospect, that probably would have
helped soften the filament and set the dye better.)
9x5 loaf pans are good for holding up the dye bags.
I boiled water and dissolved the Kool-Aid powder at a ratio of 1 packet per quart of water, then added the filament and let it soak for 30-45 minutes. Once it's done, rinse it in warm water and make sure it's completely dry before using. You can dry filament in a cool oven, but since it was a warm day I simply left mine to air dry, then returned it to its container and let the desiccants finish the job.
I decided to make two solid colors using two packets apiece, which I soaked in a big pot, and two variegated color combos, which were done by propping the coils in Ziploc bags and dyeing one side at a time.
The resulting colors can best be described as... glowstick.
Is it soup yet?
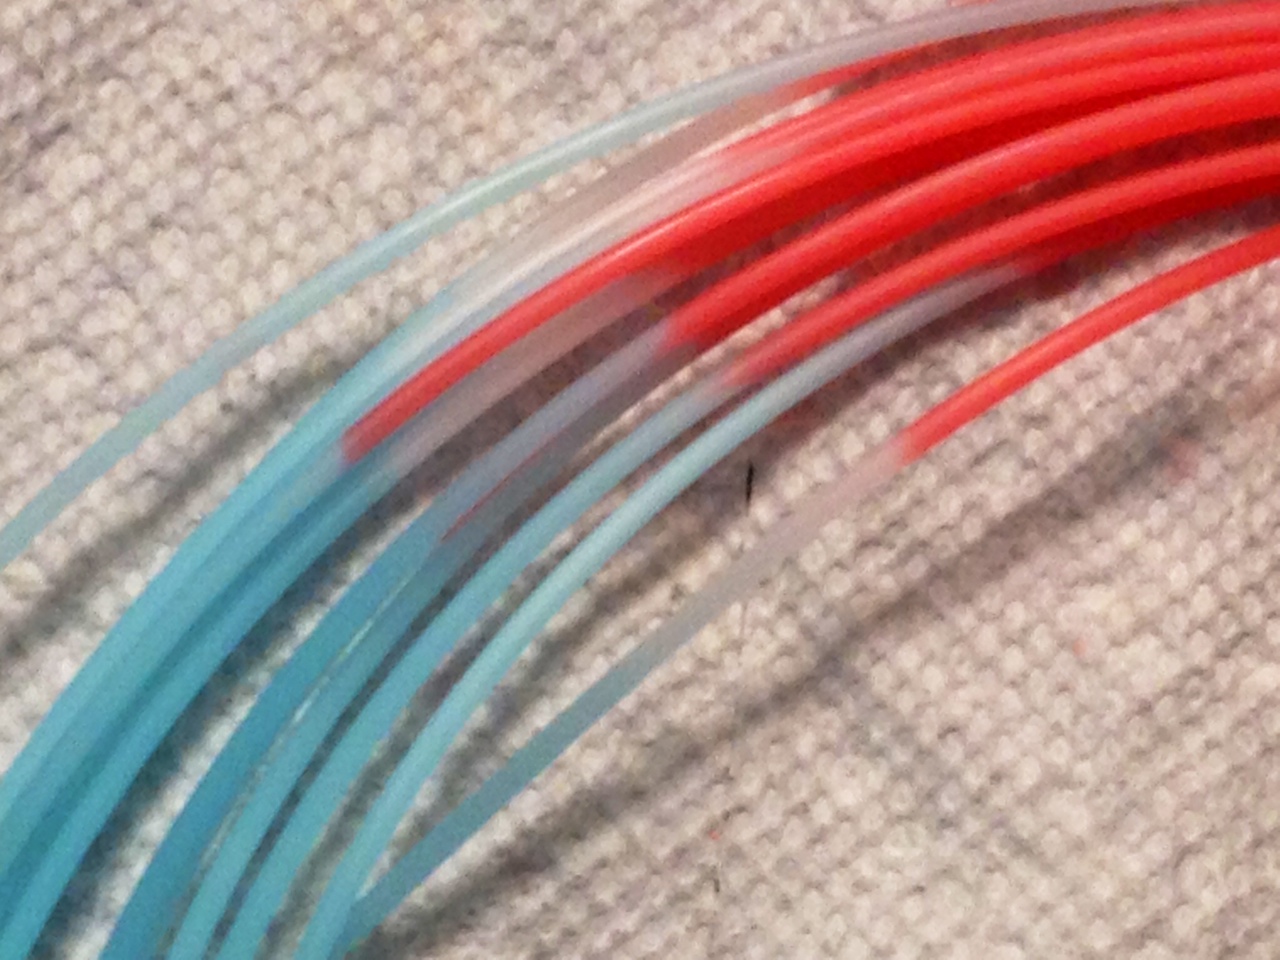
I combined lemon lime and mixed berry hoping to get a nice teal. In the pot, it certainly looked teal. However, the blue dye in the mixed berry must be weak, because the end product was decidedly lime green. I noticed that most of the filament had a tendency to float up to the surface, and the only part of the coil that had taken any of the blue dye was right where I had tied it -- ie. the part that was denser and stayed near the bottom. So I added a second tie to the next batch to keep it submerged.
I moved the tie over -- you can see on the left where the coil was tied and absorbed some of the blue.
As red is universally the strongest dye color, the solid cherry/lemonade mixture created a super-concentrated reddish pink. The variegated black cherry and orange also fared well, although I didn’t dunk the filament in quite far enough for the second half, so there are a few blank spots.
Cherry and lemonade. I found that lemonade Kool-Aid is practically colorless, so I wouldn't use it on its own for dyeing.
Variegated filament: black cherry on the bottom and orange on top.
Ice
blue raspberry lemonade is quite a light blue to begin with -- think
blue ice packs -- so I’m surprised the filament retained as much blue
dye as it did. The blue filament is actually pretty true to the color of the dye liquid.
By far the most surprising result, however, was the grape. Yup, the other half of this coil is grape. Grape Kool-Aid itself is definitely near the blue-violet end of the purple spectrum, but the nylon filament apparently found every last red molecule, sucked it up, and rejected everything else. SCIENCE!
It reminds me of a rocket popsicle.
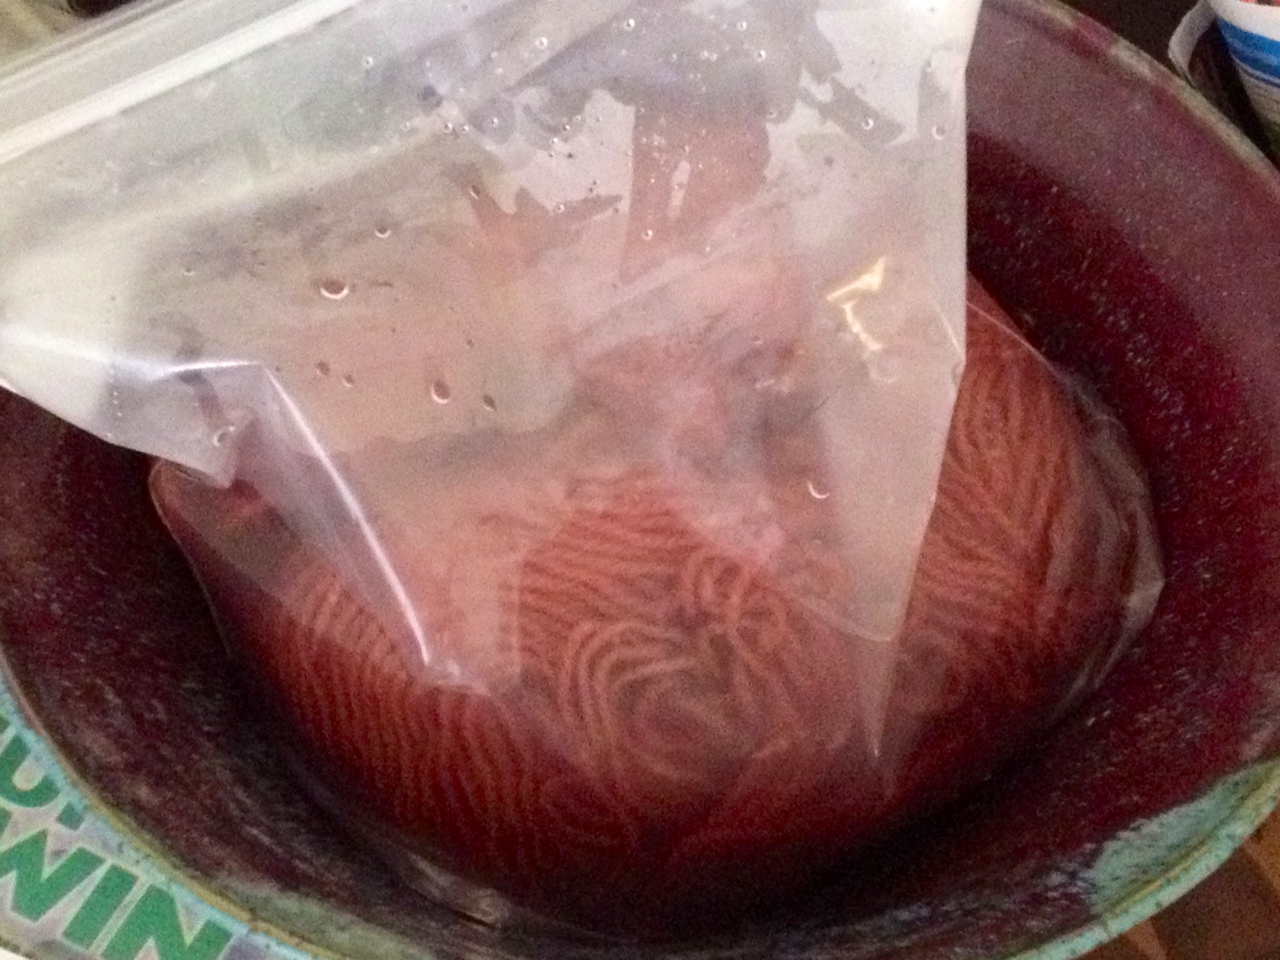
Just for teh lulz, I also dyed some Patons Classic Merino with black cherry and ice blue raspberry lemonade. I’ve been knitting for years but this is the first time I’ve given my yarn a Kool-Aid dip. It looked unnervingly like brains while it was soaking, but came out as a nice dusty rose color.
No, Mr. Bond... I expect you to dye.
Yarny goodness.
I haven’t yet had a chance to try printing anything with my newly neon nylon, but from what I’ve read on filament dyeing, dye retention after printing isn’t a problem, nor is warping. Further research to be done: increasing the ratio of Kool-Aid to filament; trying more color combinations; using Kool-Aid to dye already-printed objects; and dyeing filament with other natural and biocompatible dyes like beet juice, turmeric, and coffee.
Clockwise from top left: orange/black cherry, ice blue raspberry lemonade/grape, lemon lime/mixed berry, cherry/lemonade.
Rainbow!
While the filament colors aren’t quite as pronounced as they would be using acid dyes, Kool-Aid dye has the advantages of being readily available, dirt cheap, and completely safe. All in all, a winner.
Ohhh yeaahhhh.


