Kat Sweet

Security leader. Connector. Pun architect.

Filtering by Tag: FFF Friday

FFF Friday: 3D Printing Resources for Beginners

Newbies, this one’s for you!

3D printing has been rising in popularity in the past few years.  It’s begun to show up in headlines ranging from “3D printing is OSSIM -- it makes prosthetics!” to “3D printing is EVIL -- it makes guns!”.  However, the practice of creating a 3-dimensional physical object from a digital model is still a new concept to many people.  Maybe you’ve vaguely heard of it but don’t necessarily understand the mechanics of it.  Maybe you’re interested in learning but don’t know where to start.  Or you know a little and want to take it further.  Whatever your background, we all have to start somewhere, so for today’s FFF Friday, I’ve put together a few resources for newcomers to the wide world of 3D printing.

This isn’t meant to be an exhaustive list by any means, just a brief roundup of links to point you in the right direction.  Oh, and just as a standard disclaimer:  nobody linked in this post -- or any others -- is paying or bribing me to promote them.  :-)

When I refer to 3D printing, I’m usually talking about fused filament fabrication (FFF), also called fused deposition modeling (FDM), though that’s a trademarked term.  This is the kind that involves squeezing filament through a heated nozzle and laying it down one layer at a time.  Other types of 3D printing deploy different methods of forming the 3D object, such as powder or [frickin’] lasers; FFF is the most widely used among hobbyists and the easiest to access.  If you have 15 minutes to spare, Lisa Harouni’s TED Talk gives a good intro to the different types of 3D printing and some of the amazing things it can do.  

The software:  One of the best places to start may be simply playing around with some of the software used in 3D printing.  3D modeling is typically done using a computer aided design (CAD) program like OpenSCAD or SolidWorks, or a computer graphics program like Blender or SketchUp (to name just a few of each).  Software costs run the gamut from free and open source to “you want me to pay HOW much?!”  Regardless of program, Teh Interwebs has many tutorials and docs for learning your way around the software.

The hardware:  It’s remarkable how much 3D printers have come down in price recently:  you can now buy one for as little as a few hundred dollars.  New printers are constantly being developed -- it seems like there are always a few on Kickstarter at any given time -- with various features, but they usually share the same core components:  nozzles for filament, a heated build platform, controls for temperature and alignment, connector to a computer, etc.  Some come plug-and-play, while others require some assembly.  One of the most innovative developments, IMHO, in 3D printing is the RepRap Project’s introduction of printers that are actually self-replicating:  you can print the parts to assemble your own printer!

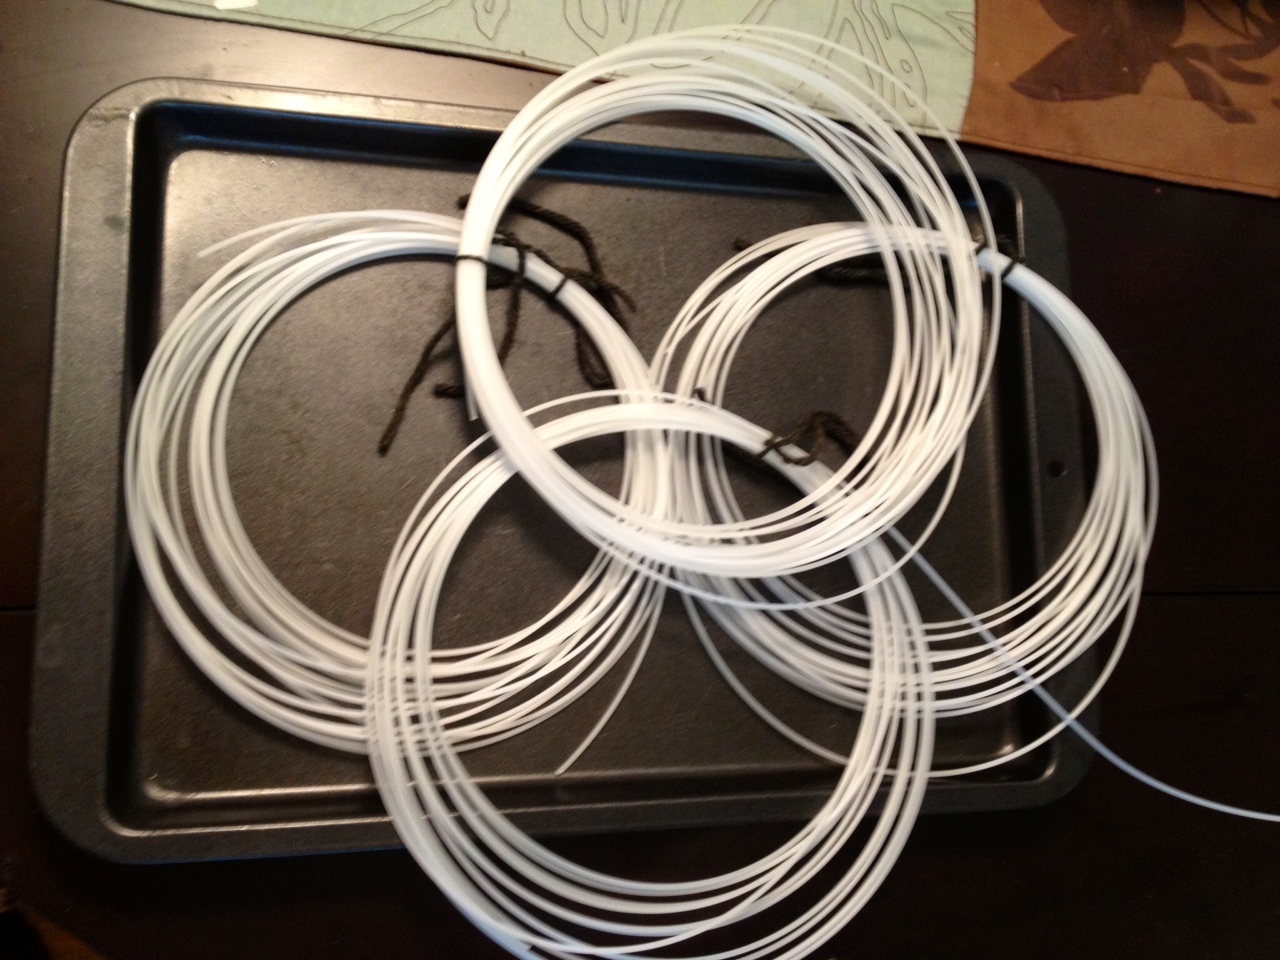
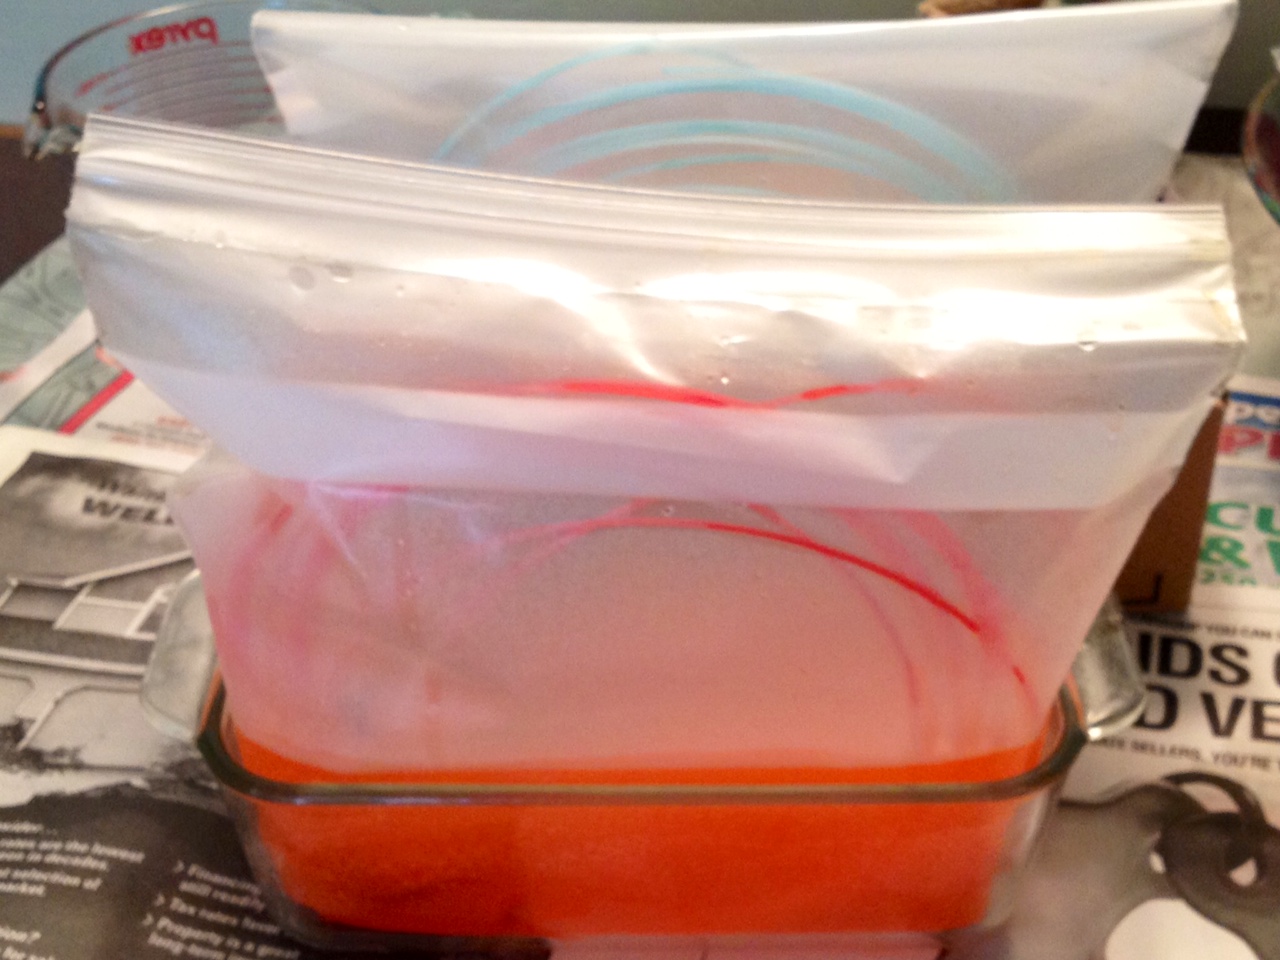
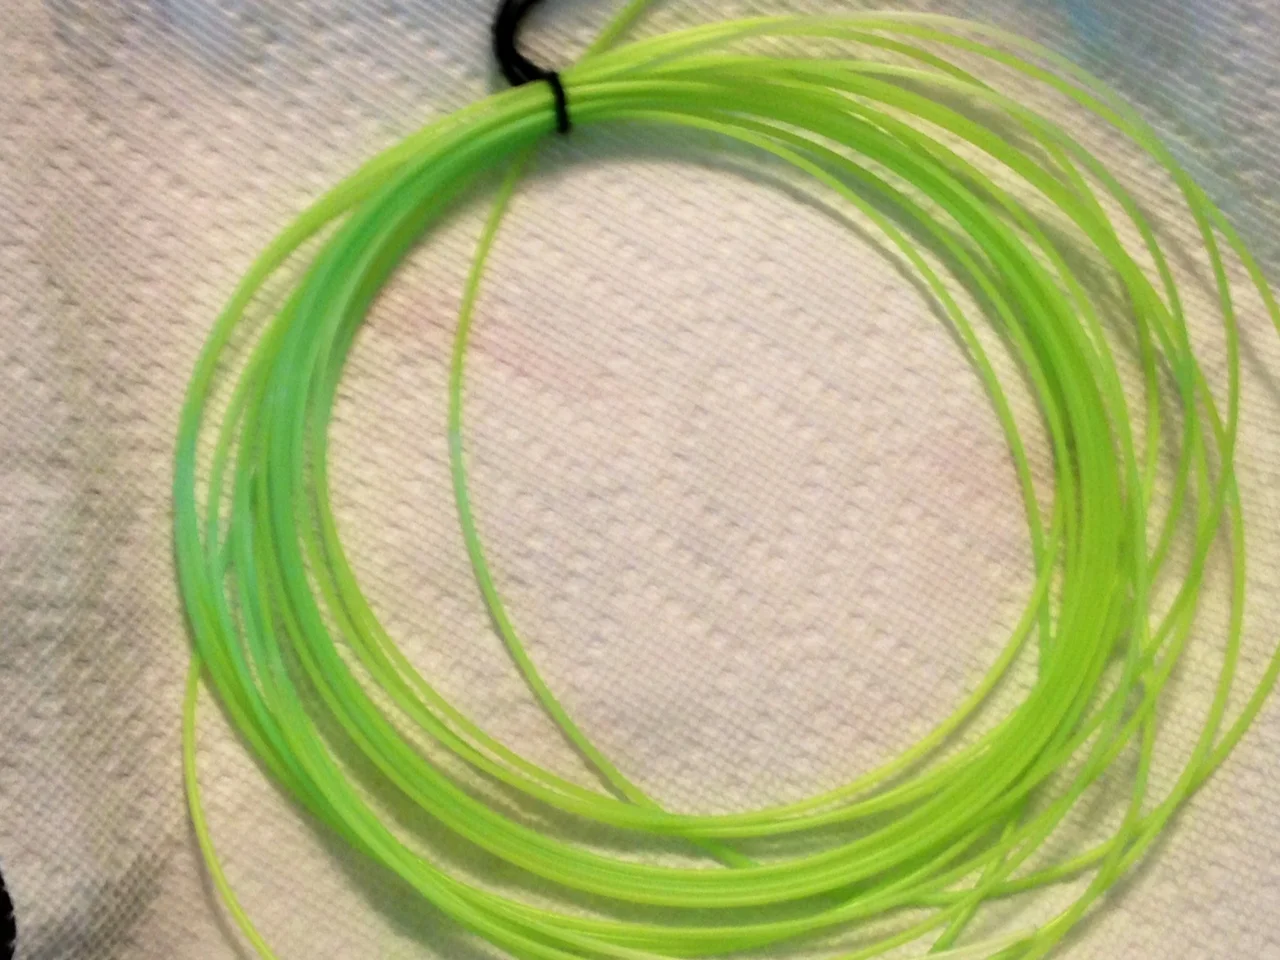
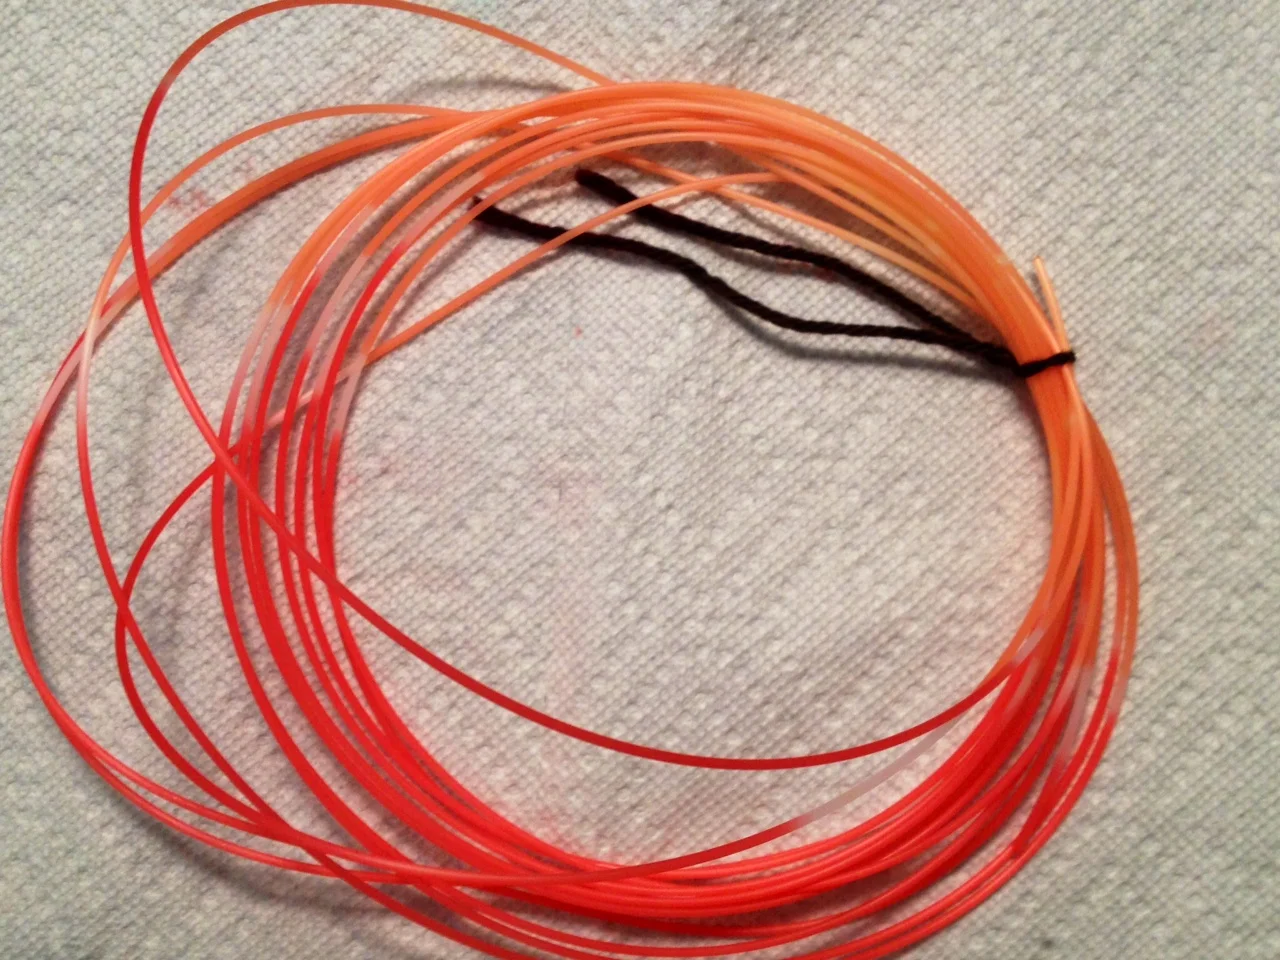
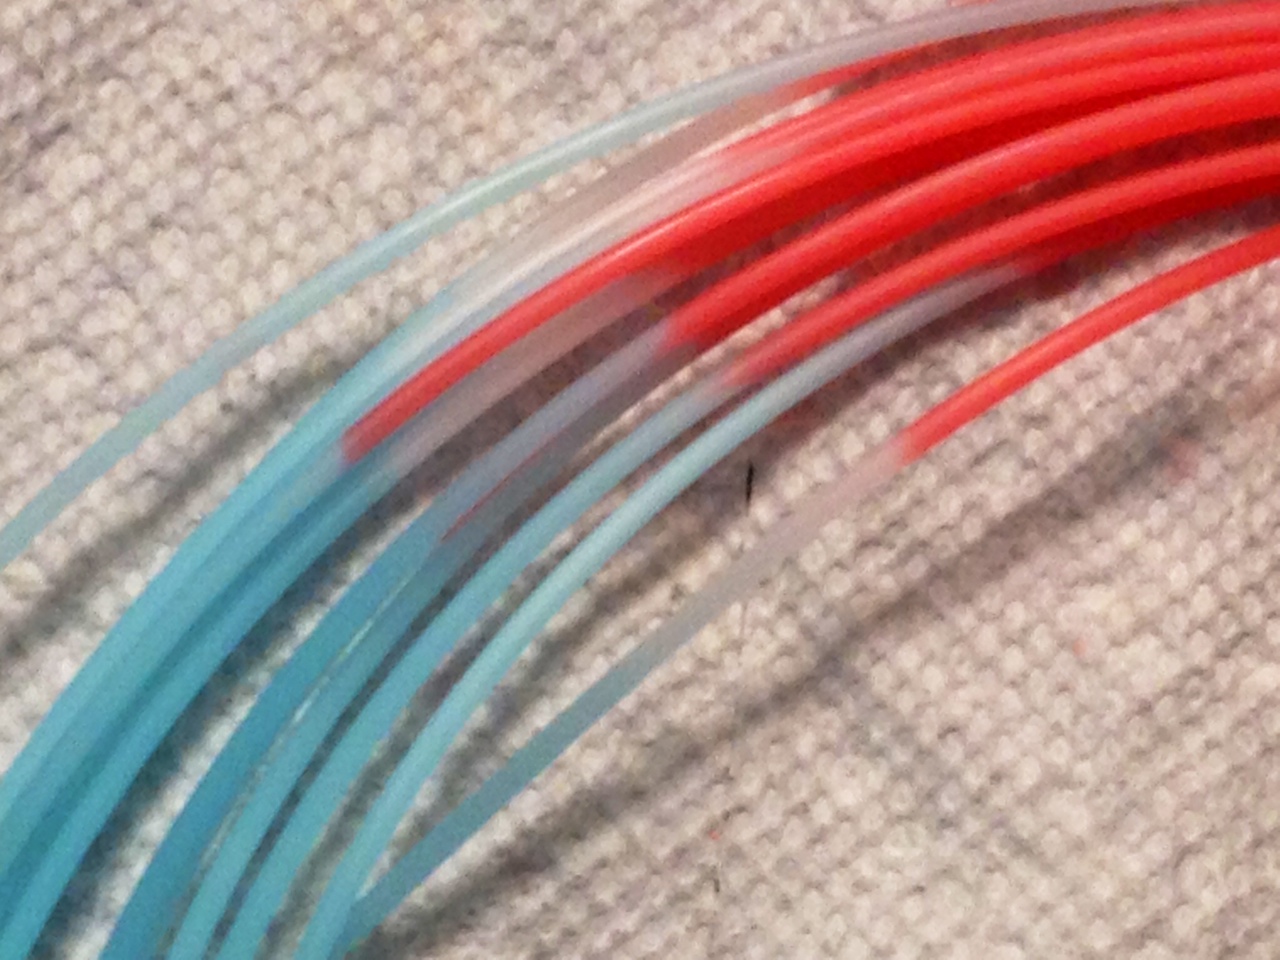
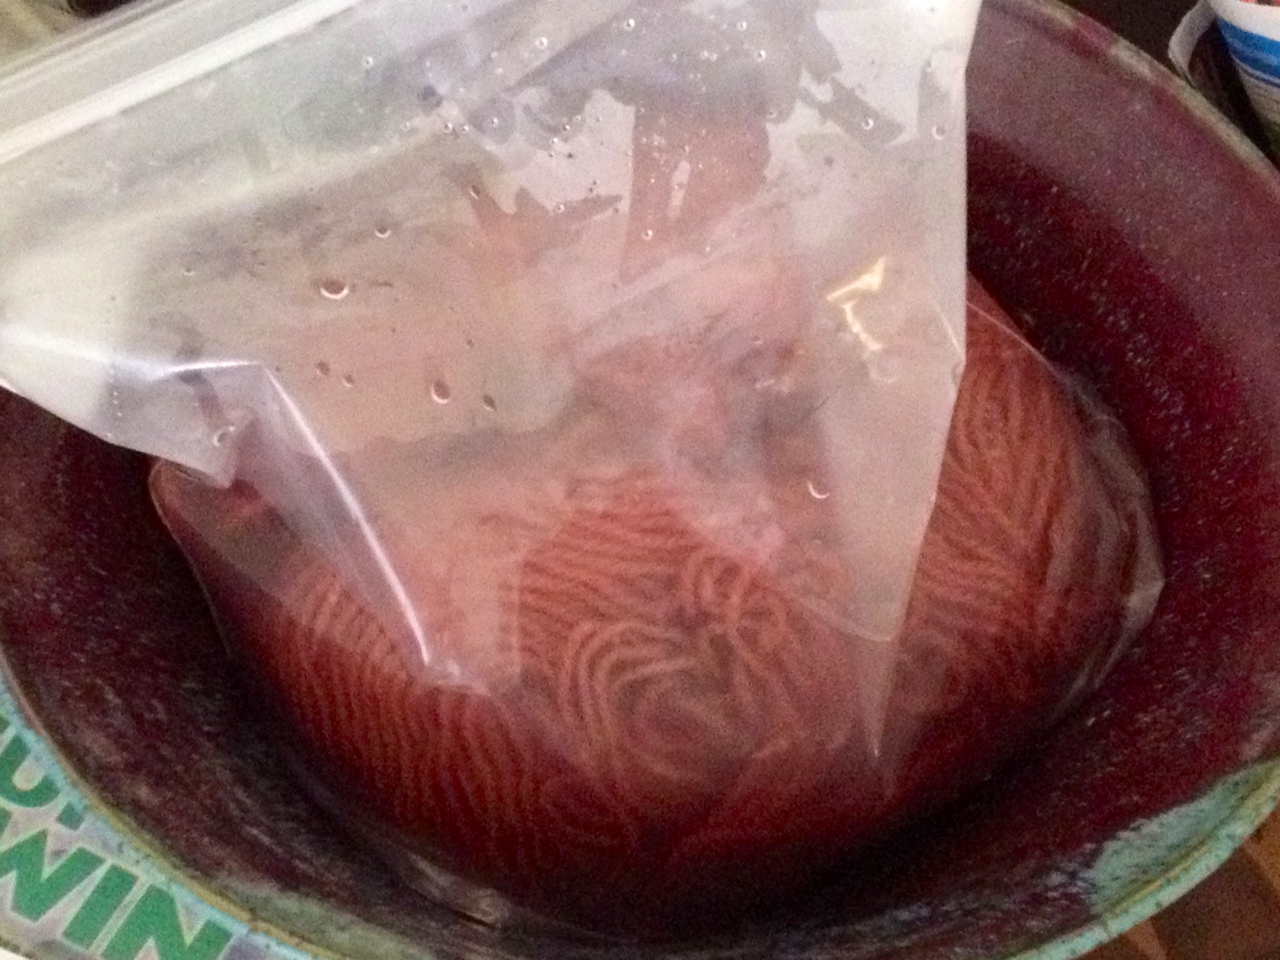
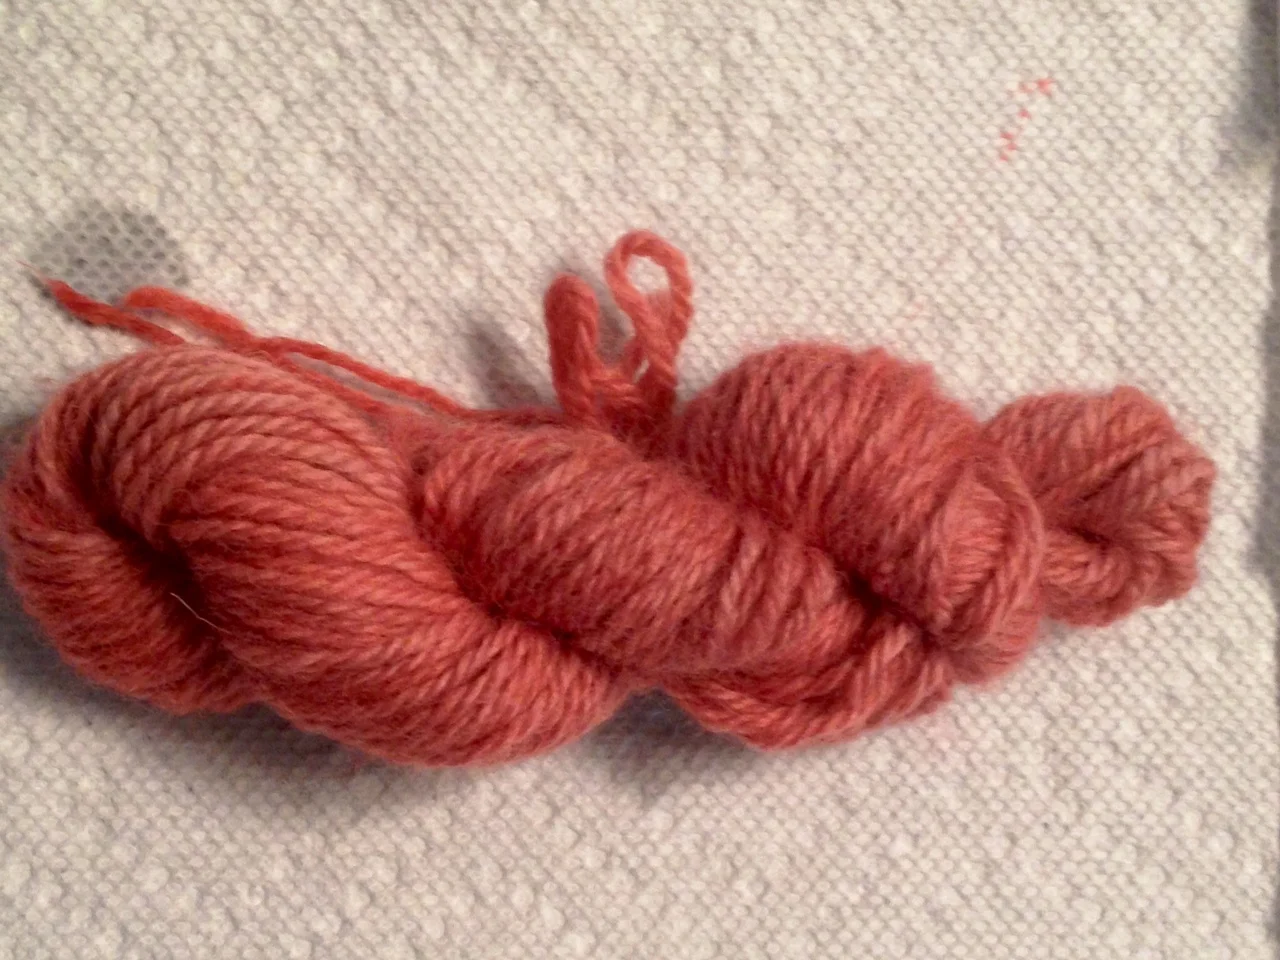
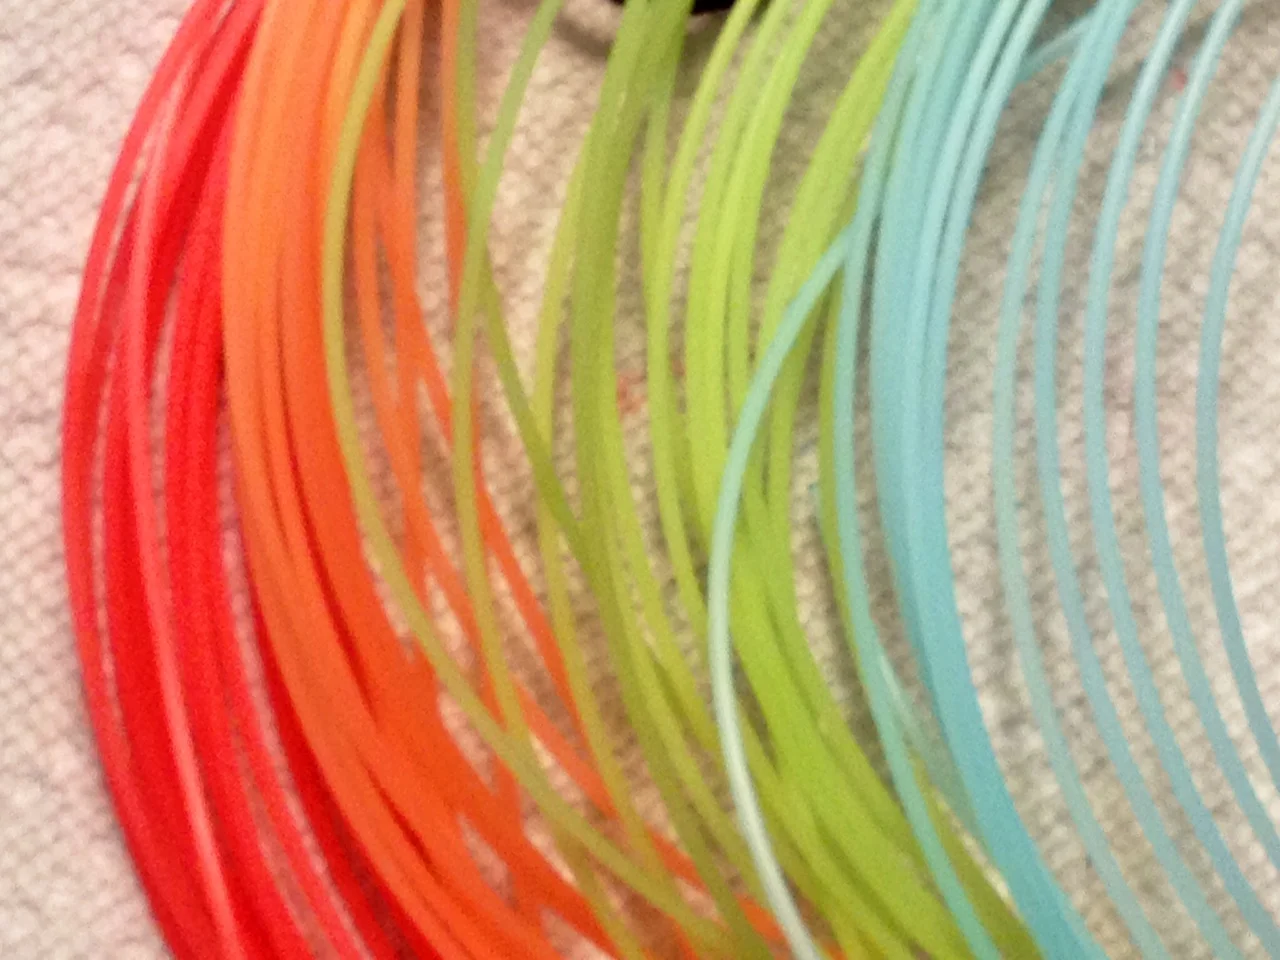
The materials:  The most common types of 3D printer filament are ABS (made famous by Legos), PLA (corn plastic), nylons, and wood.  (“Wait, wood?” you say?  It’s not 100% wood, it’s wood pulp bound together by PLA.)  ABS and PLA come in several colors; nylon is just one color, but as I discussed last week, it can be dyed!  For all of your shopping-on-the-couch-in-your-skivvies needs, Amazon now has its very own 3D Printer Store with a huge filament selection, as well as some 3D printers and parts.

Want something made but don’t own a printer?  Shapeways will print it for you.  If you’re a student, some engineering schools may also have 3D printers available for use (in my hometown, the University of Wisconsin-Madison has a student print shop in their College of Engineering, though it’s fairly costly).  And if the reverse is true, and you own a printer but would rather use someone else’s designs?  Thingiverse lets people share all things 3D that they’ve designed, so while you can upload your own creations there, you can also grab other users’ files and print them.  

There are several ways to get your feet wet without having to buy a 3D printer right away.  Find out if there’s a makerspace or hackerspace in your area -- most will usually have at least one 3D printer, and they may even offer classes.  That’s how I first learned about 3D printing.  (Makerspace.com has a makerspace directory, although it appears to still be a work in progress.)  It’s also worth looking for a nearby Maker Faire, where 3D printing always features prominently.  There are half a dozen flagship Maker Faires each year, but in addition to those, there are a ton of smaller, regional Faires.  Come for the robots, stay for the Makerbots.

For further reading, Make magazine, the quarterly bible of the maker movement, has an Ultimate Guide to 3D Printing.

While I’ve barely scratched the surface of the resources out there, you can do some pretty cool things with even remedial knowledge of 3D printing, so I hope this has been a useful jumping off point if you’re new to it.  Go forth and print!

FFF Friday: Dyeing Nylon Filament

Welcome to the first installment of FFF Friday!

It’s widely known among 3D printing enthusiasts that nylon 3D printer filament can be dyed.  This stands to reason:  many fabrics are nylon-based, so the same dyes that work on nylon fabric will work on nylon filament.  You can dye nylon objects after printing them, or for a striking tie-dyed effect, you can dye the filament itself.  Today I’ll be chronicling my adventures in the latter.

While any nylon-compatible fabric dye will serve you well most of the time, I don’t necessarily know how safe the regular acid dyes are for my purposes (which, as I mentioned in a previous post, are not your typical print job, wink wink nudge nudge).  Would they make me immediately keel over from acute internal acid dye poisoning?  Probably not.  But I’d rather go for total biocompatibility if I can help it.  I wanted something that’s known to be nontoxic.  Something so safe, I can eat it.

Kool-Aid.

This
 is the part where the Kool-Aid man dramatically busts through my front 
window on a motorcycle, spilling punch from the top of his head and 
guaranteeing that I can kiss my security deposit goodbye.

This is the part where the Kool-Aid man dramatically busts through my front window on a motorcycle, spilling punch from the top of his head and guaranteeing that I can kiss my security deposit goodbye.

Dyeing yarn with Kool-Aid is a common practice in the knitting/crocheting world; amid the many tutorials, there’s even a pallette with formulas for 135 Kool-Aid color combinations.  I didn’t find much information on using Kool-Aid to dye 3D printer filament, but by the Transitive Property it seemed feasible:  if we can dye nylon filament like yarn, and we can dye yarn with Kool-Aid, we can dye nylon filament with Kool-Aid.  So I basically combined the two techniques, which are fairly similar anyway.

No special equipment is required, just some packets of unsweetened Kool-Aid.  This may go without saying, but in the name of all that is holy, don’t use the pre-sweetened variety unless a sticky mess is what you’re aiming for.  Unlike some other dyes, there’s no need to mix in additional vinegar -- unsweetened Kool-Aid is plenty acidic on its own (as anyone who’s ever drunk the stuff on a dare in middle school knows... not that I’m speaking from experience or anything).

image.jpeg

Taking the nylon filament off of the spool and tying it into coils will help expose more surface area and allow you to swish it around in the dye more.  Since I wanted to test small batches, each of the coils is roughly one ounce of Taulman 618 1.75mm filament.  (One step that I admittedly forgot was pre-soaking the filament in hot water for a few minutes.  In retrospect, that probably would have helped soften the filament and set the dye better.) 

9x5 loaf pans are good for holding up the dye bags.

9x5 loaf pans are good for holding up the dye bags.

I boiled water and dissolved the Kool-Aid powder at a ratio of 1 packet per quart of water, then added the filament and let it soak for 30-45 minutes.  Once it's done, rinse it in warm water and make sure it's completely dry before using.  You can dry filament in a cool oven, but since it was a warm day I simply left mine to air dry, then returned it to its container and let the desiccants finish the job.

I decided to make two solid colors using two packets apiece, which I soaked in a big pot, and two variegated color combos, which were done by propping the coils in Ziploc bags and dyeing one side at a time.

The resulting colors can best be described as... glowstick.

Is it soup yet? 

Is it soup yet? 

I combined lemon lime and mixed berry hoping to get a nice teal.  In the pot, it certainly looked teal.  However, the blue dye in the mixed berry must be weak, because the end product was decidedly lime green.  I noticed that most of the filament had a tendency to float up to the surface, and the only part of the coil that had taken any of the blue dye was right where I had tied it -- ie. the part that was denser and stayed near the bottom.  So I added a second tie to the next batch to keep it submerged.

I moved the tie over -- you can see on the left where the coil was tied and absorbed some of the blue.

I moved the tie over -- you can see on the left where the coil was tied and absorbed some of the blue.

As red is universally the strongest dye color, the solid cherry/lemonade mixture created a super-concentrated reddish pink.  The variegated black cherry and orange also fared well, although I didn’t dunk the filament in quite far enough for the second half, so there are a few blank spots.

Cherry and lemonade.  I found that lemonade Kool-Aid is practically colorless, so I wouldn't use it on its own for dyeing. 

Cherry and lemonade.  I found that lemonade Kool-Aid is practically colorless, so I wouldn't use it on its own for dyeing. 

Variegated filament: black cherry on the bottom and orange on top. 

Variegated filament: black cherry on the bottom and orange on top. 

Ice blue raspberry lemonade is quite a light blue to begin with -- think blue ice packs -- so I’m surprised the filament retained as much blue dye as it did.  The blue filament is actually pretty true to the color of the dye liquid.

image-5.jpeg

By far the most surprising result, however, was the grape.  Yup, the other half of this coil is grape.  Grape Kool-Aid itself is definitely near the blue-violet end of the purple spectrum, but the nylon filament apparently found every last red molecule, sucked it up, and rejected everything else.  SCIENCE!

It reminds me of a rocket popsicle.

It reminds me of a rocket popsicle.

Just for teh lulz, I also dyed some Patons Classic Merino with black cherry and ice blue raspberry lemonade.  I’ve been knitting for years but this is the first time I’ve given my yarn a Kool-Aid dip.  It looked unnervingly like brains while it was soaking, but came out as a nice dusty rose color.

No, Mr. Bond... I expect you to dye. 

No, Mr. Bond... I expect you to dye. 

Yarny goodness. 

Yarny goodness. 

I haven’t yet had a chance to try printing anything with my newly neon nylon, but from what I’ve read on filament dyeing, dye retention after printing isn’t a problem, nor is warping.  Further research to be done:  increasing the ratio of Kool-Aid to filament; trying more color combinations; using Kool-Aid to dye already-printed objects; and dyeing filament with other natural and biocompatible dyes like beet juice, turmeric, and coffee.

Clockwise from top left: orange/black cherry, ice blue raspberry lemonade/grape, lemon lime/mixed berry, cherry/lemonade. 

Clockwise from top left: orange/black cherry, ice blue raspberry lemonade/grape, lemon lime/mixed berry, cherry/lemonade. 

Rainbow! 

Rainbow! 

While the filament colors aren’t quite as pronounced as they would be using acid dyes, Kool-Aid dye has the advantages of being readily available, dirt cheap, and completely safe.  All in all, a winner.

Ohhh yeaahhhh.

Introducing FFF Fridays!

BSidesLV is only 4 weeks away, and the final schedule is up!  I’ll be taking the stage at 6:30 pm on Wednesday, July 31st (you can read an overview of my presentation topic here).  PowerPoint slides are being prepared, implements of pleasure are being designed, and I’m sure somewhere a set of pearls is being clutched.  If you’re crazy enough (as I am) to be heading out to Vegas during the hottest part of the year, and may be interested in my talk, allow me to help you get into a 3D printing mindset with FFF Fridays!

Each Friday for the next 3-4 weeks leading up to the conference, I’ll be posting about a different 3D printing-related topic -- things that there won’t be time to cover in detail during my 50-minute talk.  (I can’t promise a post on the 26th, as I’ll be traveling starting at ass-o’clock in the morning, but I will try my damnedest.)  Stay tuned for the first installment this Friday, July 5th!